

How to align steel wire for brush during brush manufacturing?
Hey there! As a supplier of Steel Wire for Brush, I've seen firsthand the importance of properly aligning steel wire during brush manufacturing. It's a crucial step that can make or break the quality of the final product. In this blog post, I'm gonna share some tips and tricks on how to align steel wire for brush like a pro.
Understanding the Basics of Steel Wire Alignment
Before we dive into the alignment process, let's first understand why it's so important. Properly aligned steel wire ensures that the brush bristles are evenly distributed, which in turn affects the brush's performance. A well - aligned brush will have better contact with the surface it's cleaning or working on, providing more consistent results.
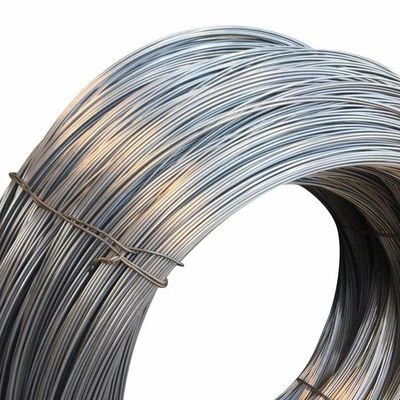
There are different types of steel wire used for brushes, such as Steel Wire for Brush. The type of wire you choose can impact the alignment process. For example, some wires are more flexible, while others are stiffer. You need to take these characteristics into account when aligning the wire.

Pre - alignment Preparation
The first step in aligning steel wire for brush is getting everything ready. You should start by inspecting the steel wire. Look for any kinks, bends, or damage. If you find any issues, it's best to remove those sections of wire as they can cause problems during alignment and affect the final brush quality.
Next, gather all the tools you'll need. This typically includes a workbench, clamps, wire cutters, and a straightening tool. Make sure your workbench is clean and free of any debris that could interfere with the alignment process.
The Alignment Process
- Initial Straightening
Begin by taking a length of steel wire and placing it on the workbench. Use the straightening tool to gently work out any major bends. You can run the wire through the straightening tool multiple times if necessary. This initial straightening is crucial as it sets the foundation for the rest of the alignment process. - Clamping the Wire
Once the wire is mostly straight, use clamps to secure one end of the wire to the workbench. Make sure the clamp is tight enough to hold the wire firmly in place but not so tight that it damages the wire. - Fine - tuning the Alignment
With one end of the wire clamped, slowly pull the other end of the wire taut. As you do this, use your fingers or a small tool to check for any remaining bends or irregularities. If you find any, gently bend the wire back into place. This is a delicate process that requires patience. - Cutting to Length
After the wire is properly aligned, use wire cutters to cut the wire to the desired length for the brush. Make sure to measure accurately to ensure all the wires in the brush are the same length.
Dealing with Different Wire Types
As I mentioned earlier, different types of steel wire have different properties. For instance, Flexible Duct Wire is more flexible compared to some other types of brush wire. When aligning flexible wire, you need to be extra careful not to over - straighten it, as this can make it lose its flexibility.
On the other hand, stiffer wires like Cold Drawn Spring Wire Rods may require more force during the straightening process. However, you still need to be cautious not to break the wire.
Quality Control
Once you've aligned and cut all the wires for the brush, it's time for quality control. Take a close look at the wires to make sure they are all straight and of the same length. You can also run your fingers along the wires to feel for any rough spots or unevenness.
If you notice any issues, go back and re - align or cut the wires as needed. Quality control is an essential part of the process, as it ensures that the final brush meets the highest standards.
Troubleshooting Common Alignment Problems
Sometimes, you may encounter problems during the alignment process. One common issue is the wire kinking again after it's been straightened. This can happen if the wire is pulled too tightly or if there are underlying structural issues with the wire. To fix this, try using a lubricant on the wire as you straighten it. This can help reduce friction and prevent kinking.
Another problem is the wire not staying straight after it's been cut. This could be due to internal stresses in the wire. You can try annealing the wire before alignment to relieve these stresses. Annealing involves heating the wire to a specific temperature and then slowly cooling it.
Conclusion
Aligning steel wire for brush is a detailed and important process in brush manufacturing. By following these steps and being patient, you can ensure that the steel wire in your brushes is properly aligned, resulting in high - quality brushes that perform well.
If you're in the market for top - notch steel wire for your brush manufacturing needs, look no further. As a trusted supplier of Steel Wire for Brush, I can provide you with the best quality wire to meet your specific requirements. Whether you need flexible wire or stiffer spring wire rods, I've got you covered. Don't hesitate to reach out to me to discuss your procurement needs and start a great business partnership.
References
- Brush Manufacturing Handbook
- Steel Wire Technology Manual